GLOBALISATION
The definition of globalisation is the process by which businesses or other organisations develop international influence or start operating on an international scale. We are photographing the factors of globalisation that manifest in London. This takes the form of architecture, travel and protests. There are many ways to photograph globalisation in London, these are some of the themes I've explored.
MY RESPONSE
My response to globalisation was first to look at the large architecture in London and huge volume of social housing. Massive organisations and businesses moving to the capitals and thriving pours more money into the economy, improving the city and causing population increases. Globalisation links to most advancements of the city. After this I went onto look into the movement of people in transport. I photographed underground and overground stations to capture the advancement of transport in the capital. This links as the growing economy due to organisations is providing more jobs and opportunities in the city. This causes an increase in the population, shown in the crowded transport at rush hour.
ANDREAS GURSKY
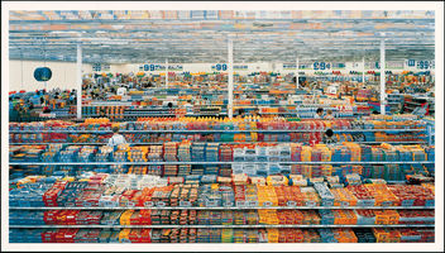
Andreas Gurkst is a German photographer and professor at the Kunstakademie Düsseldorf. He is known for his high format architecture and manipulated images of over consumption and products. He creates larger spaces by digitally enhancing his subject in the photos. When his photos are displayed they can be shown on huge boards, emphasising the vast size and intensity of the photos. His well known works are 99cent and the amazon stock room. He does multiply components of the photo to make it appear busier but they are still very magnetic photos and displays of over consumption. A clear effect of globalisation.
|

|
MY RESPONSE
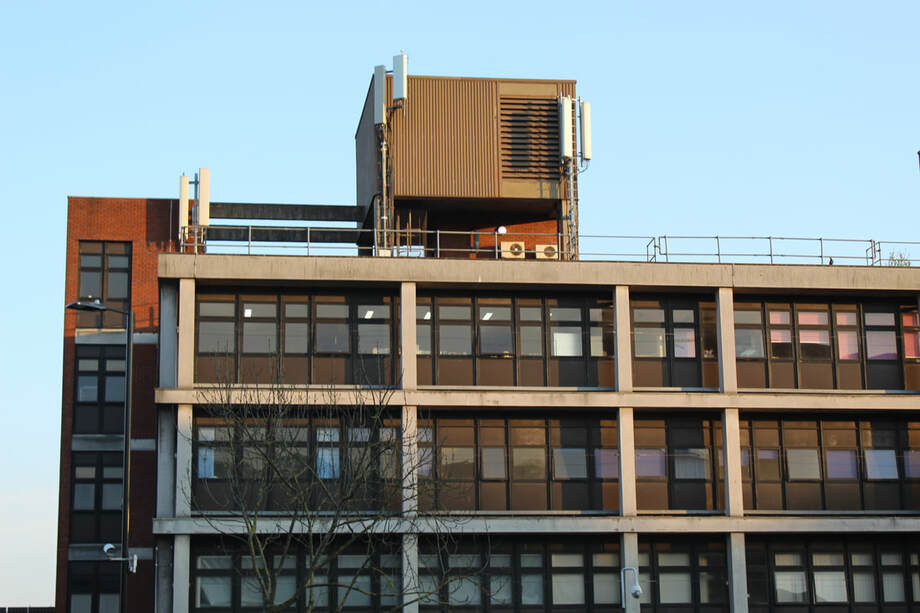
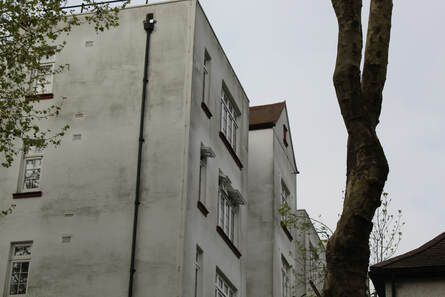
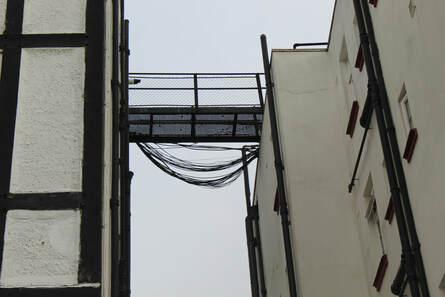
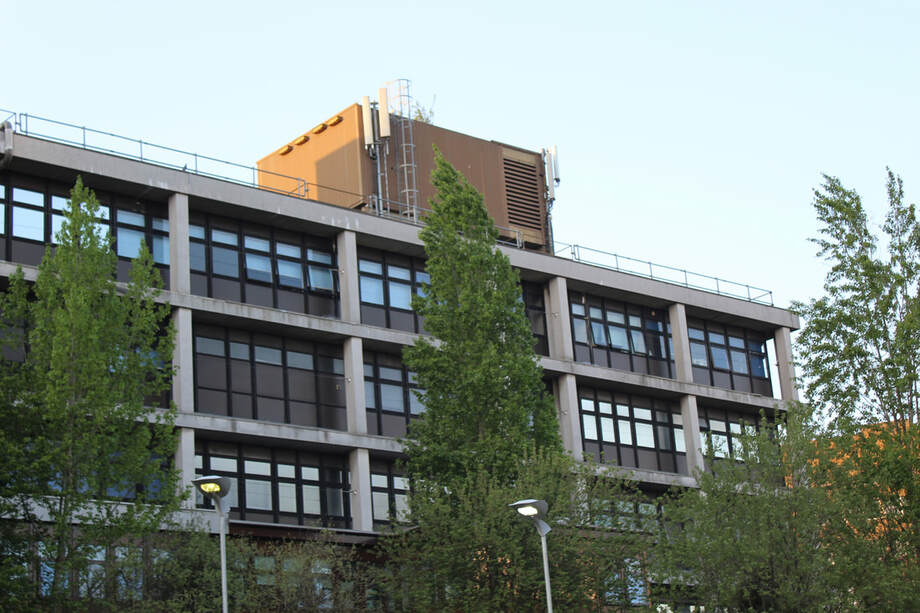
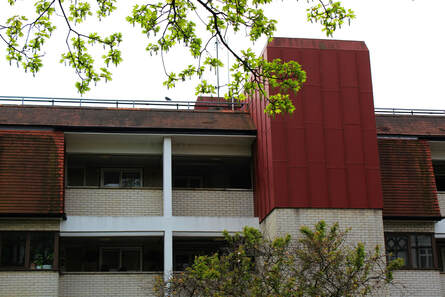
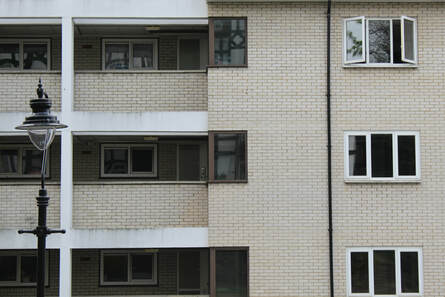
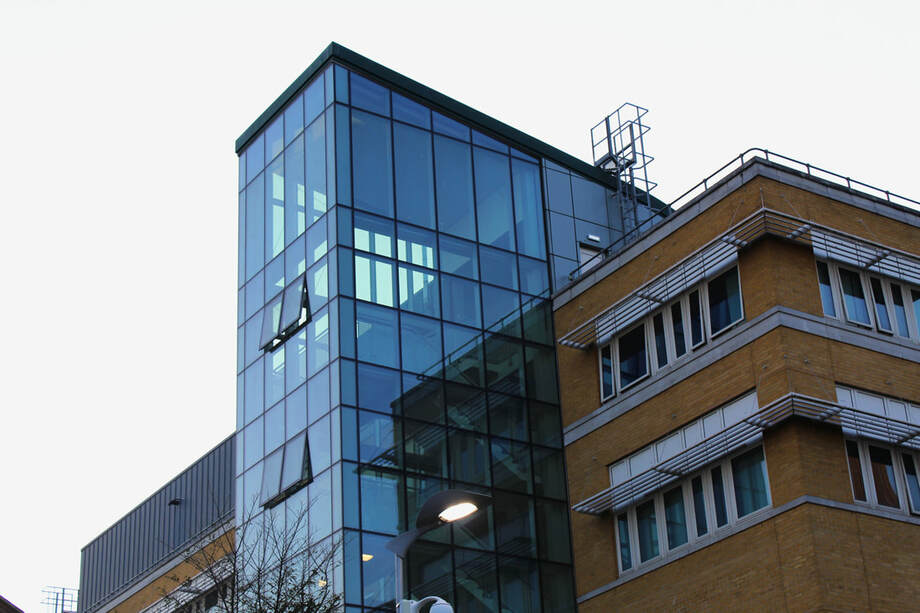
I photographed the large housing blocks near my house to capture the large spaces needed to house Londons population due to our growing residency. Some of the buildings are also quite plain looking but geometric so were good to shoot. I also photographed the Whittington hospital as its a large, modern looking building so made for interesting photos. The light was also beautiful as the sun was setting so the light reflected nicely on the glass.

|
|
|
|
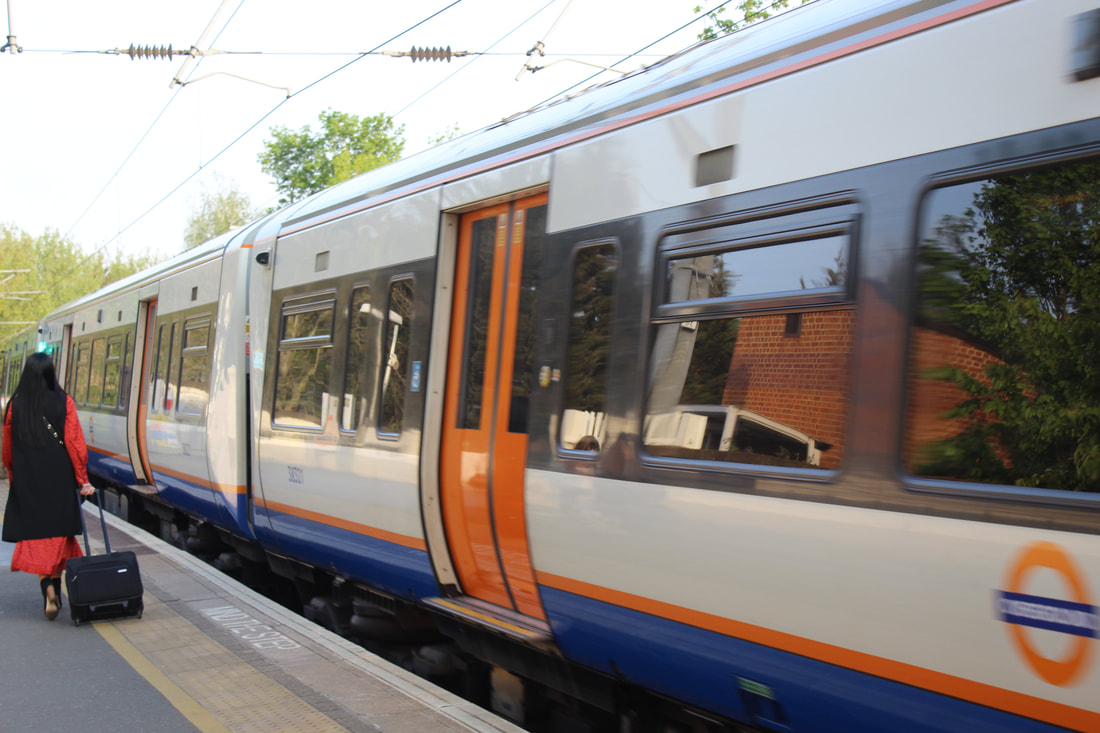
THE MOVEMENT OF PEOPLE
This is my first shoot on my sub theme 'the movement of people'. This is my response to globalisation because it links to the movement across the world due to the advancing technology of transport and the growing populations of the capitals.
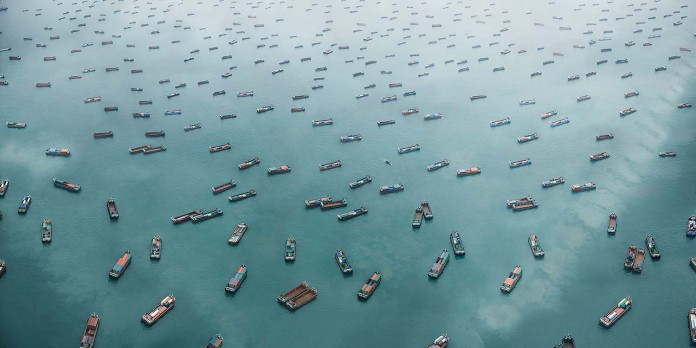
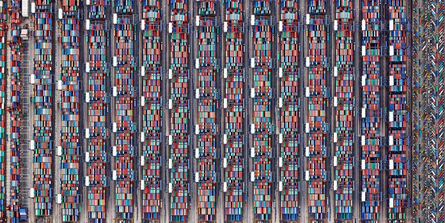
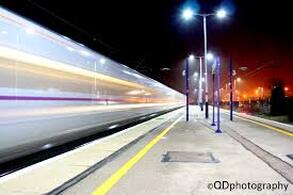
MARCUS LYON
Marcus Lyon's work 'Exodus' focuses on the vast and unstoppable expansion of assets. It looks at the movement of people and stock, using digitally enhanced photos to emphasise this. The photos are layered and stitched together to increase the complexity of the photos. I would like to look at similar themes but not the same way of presenting the photos as I wouldn't enhance the photos.

|

|
|
|
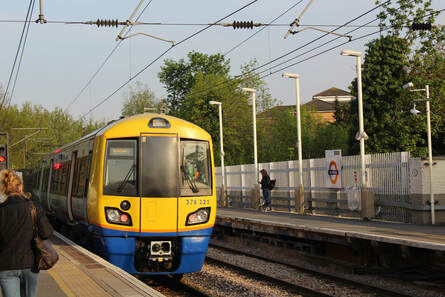
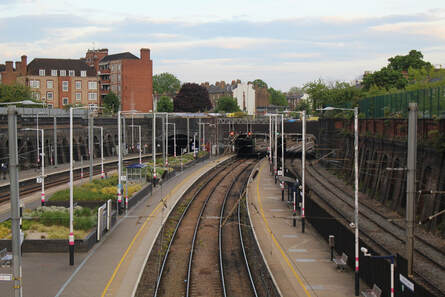
Gospel Oak Overground: shoot 1
|
|
|
|
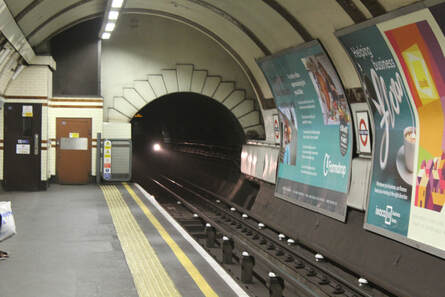
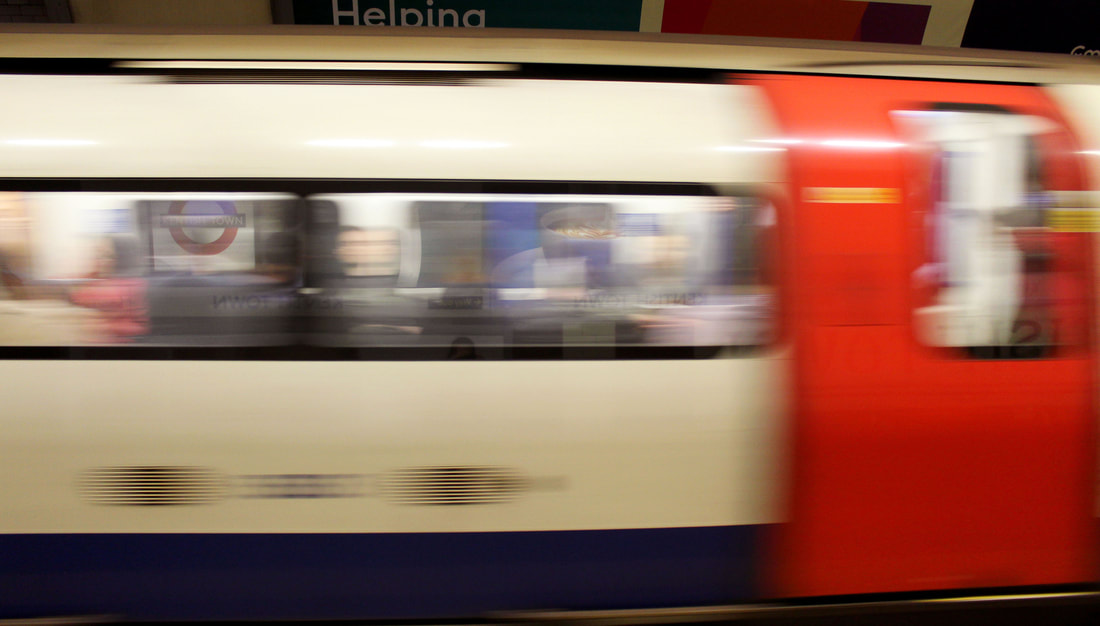
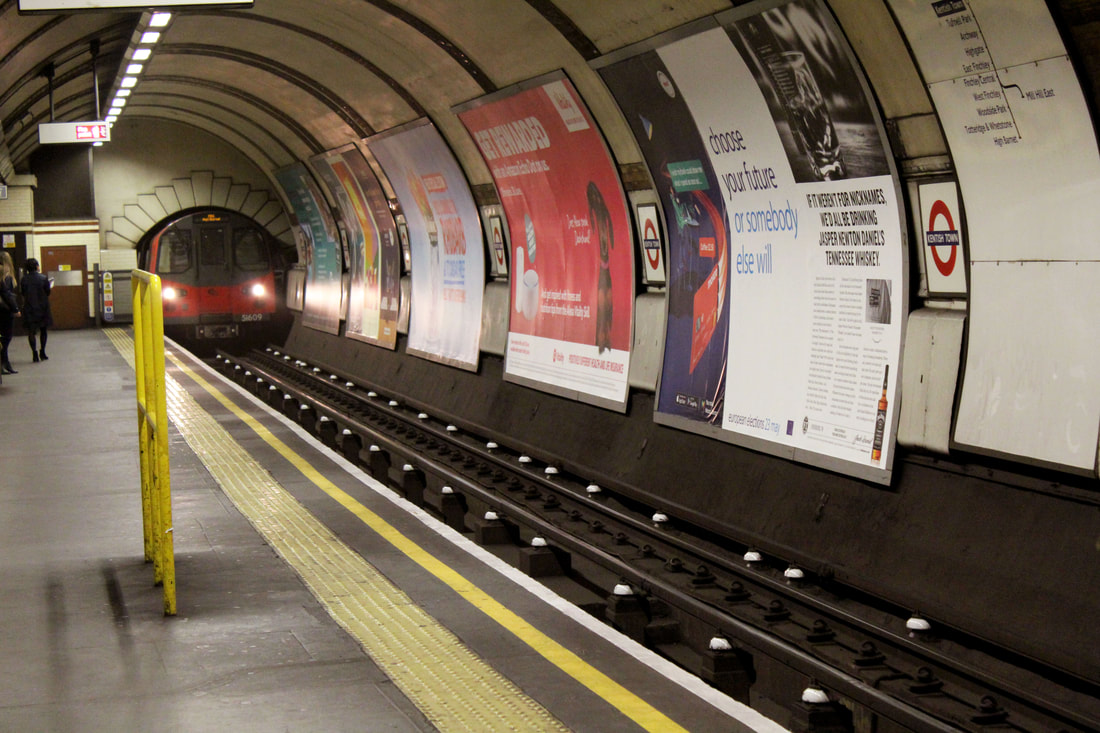
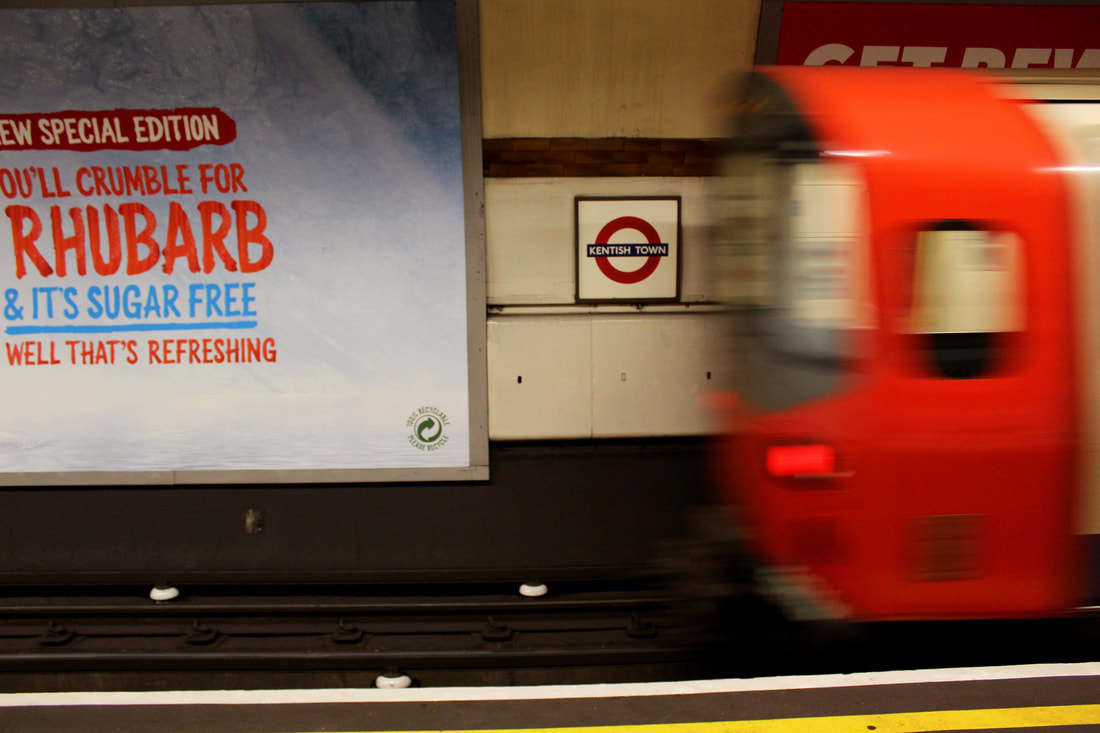
Kentish Town Underground

|
|
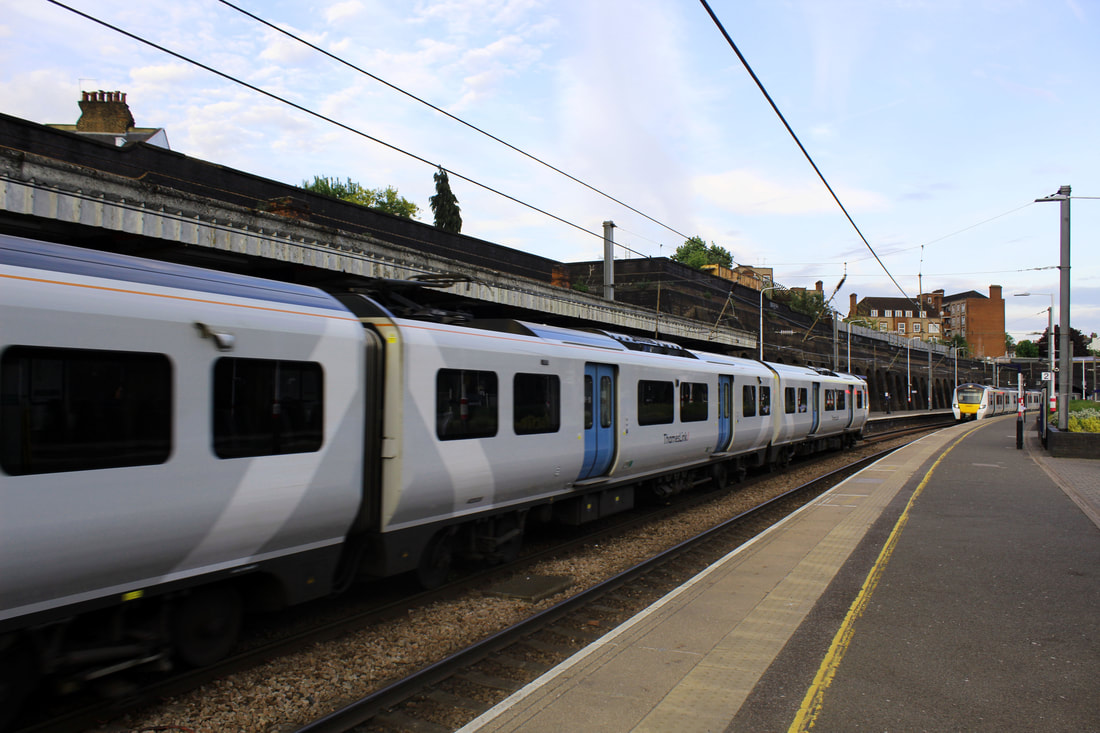
National Rail
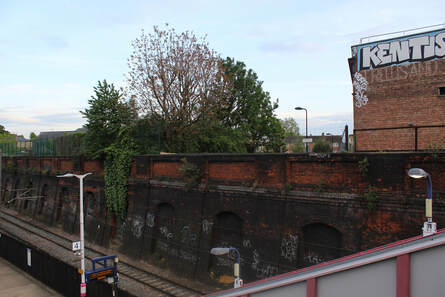
|
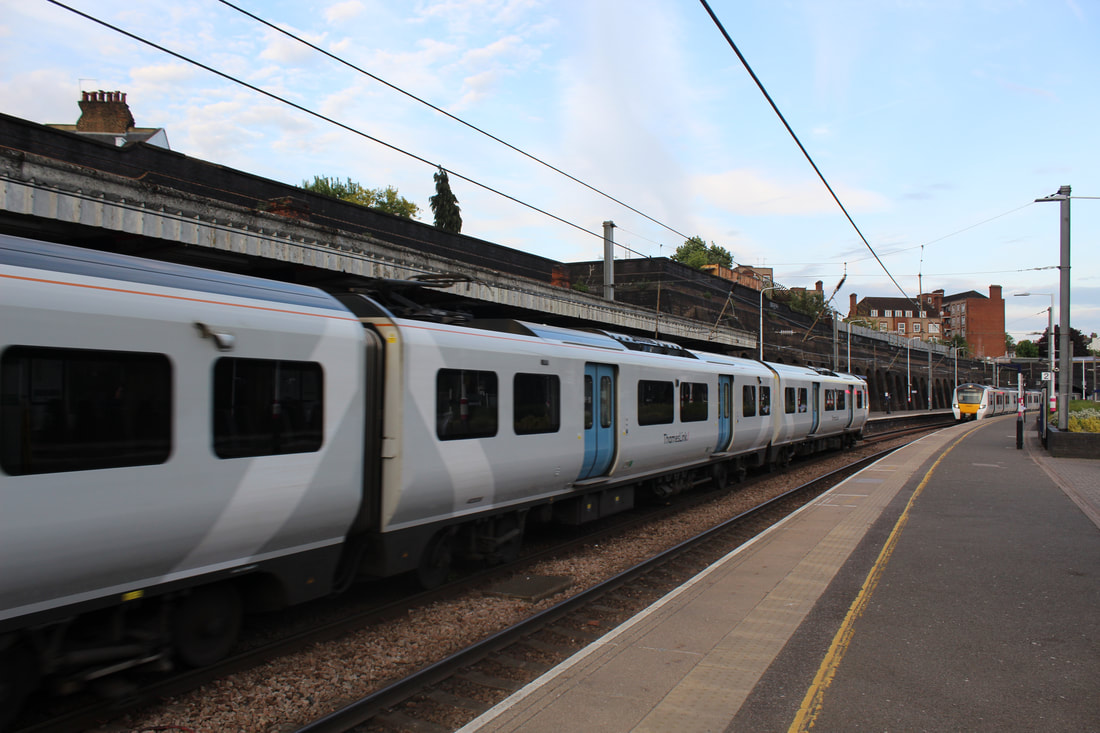
|
|
|
Edited photos

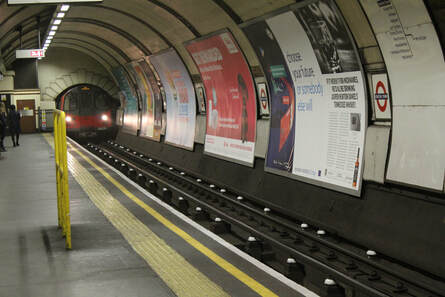
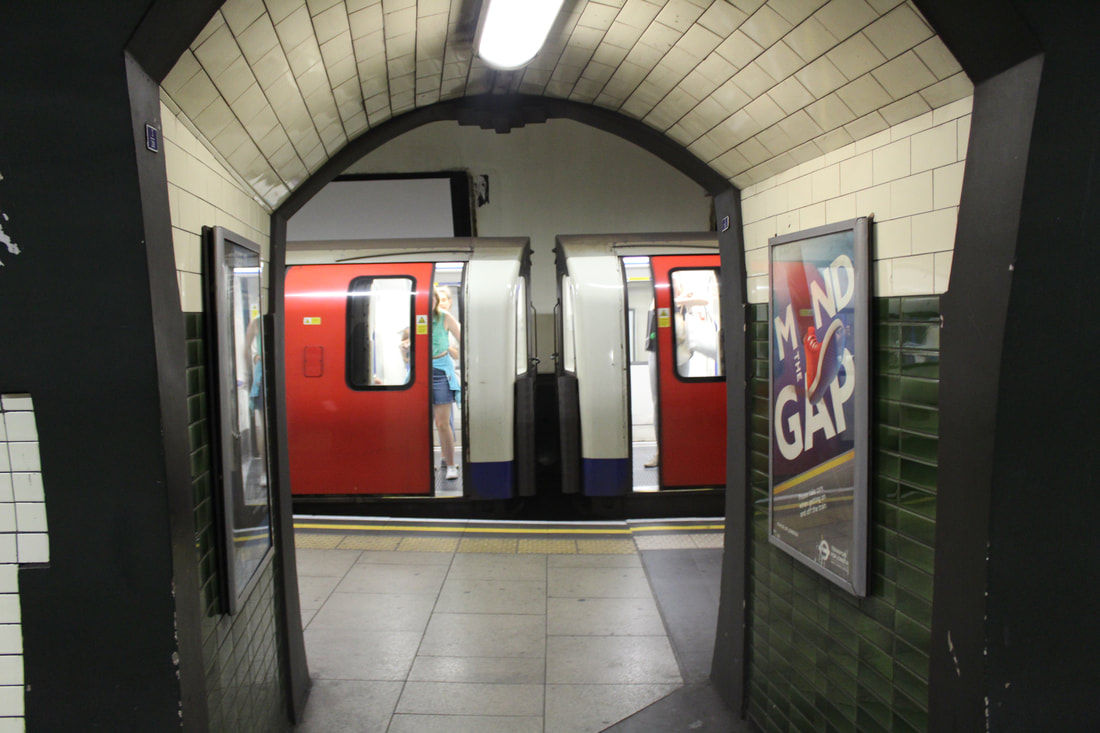
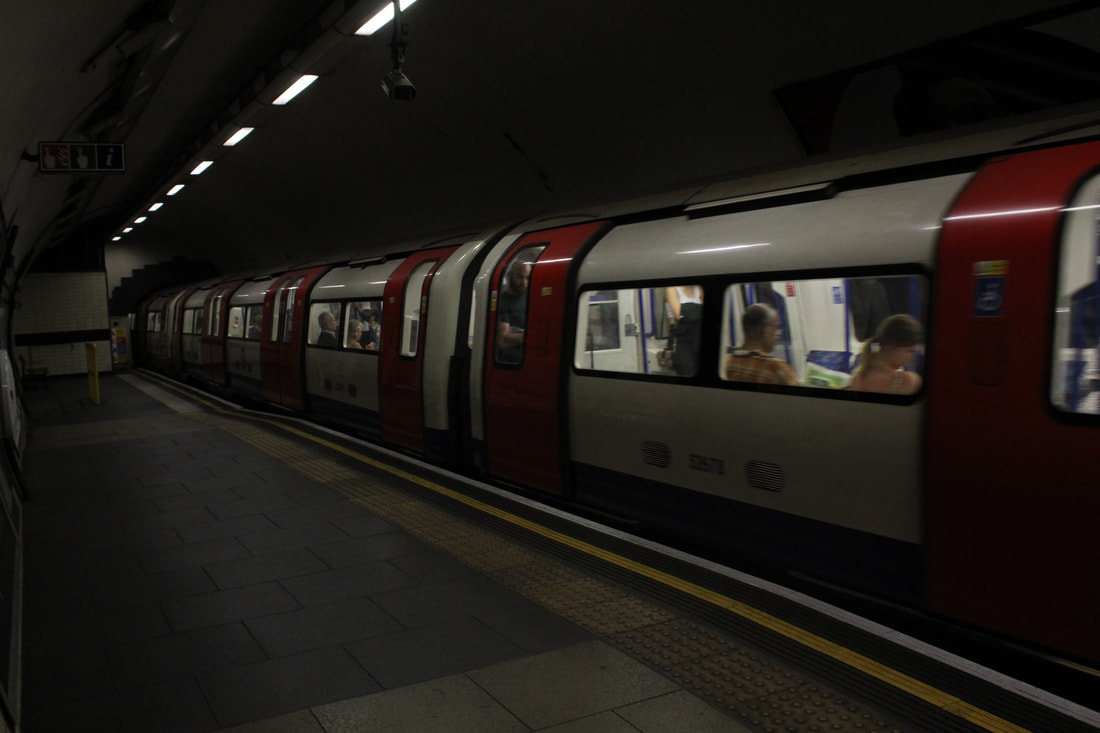
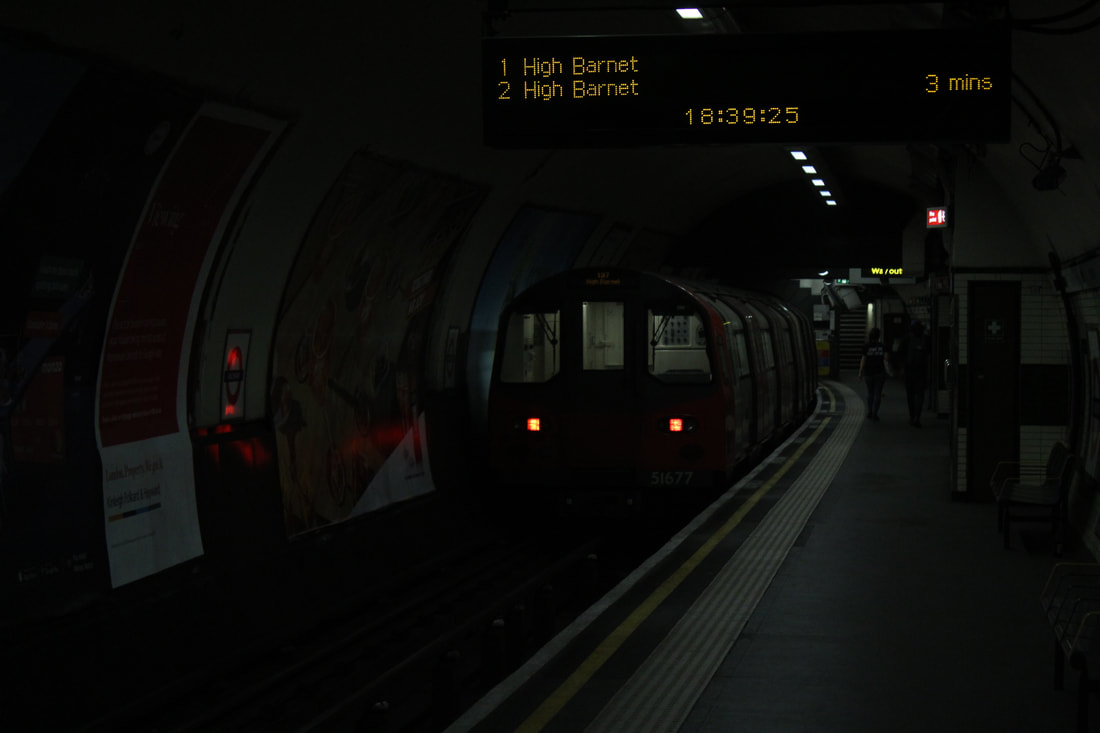
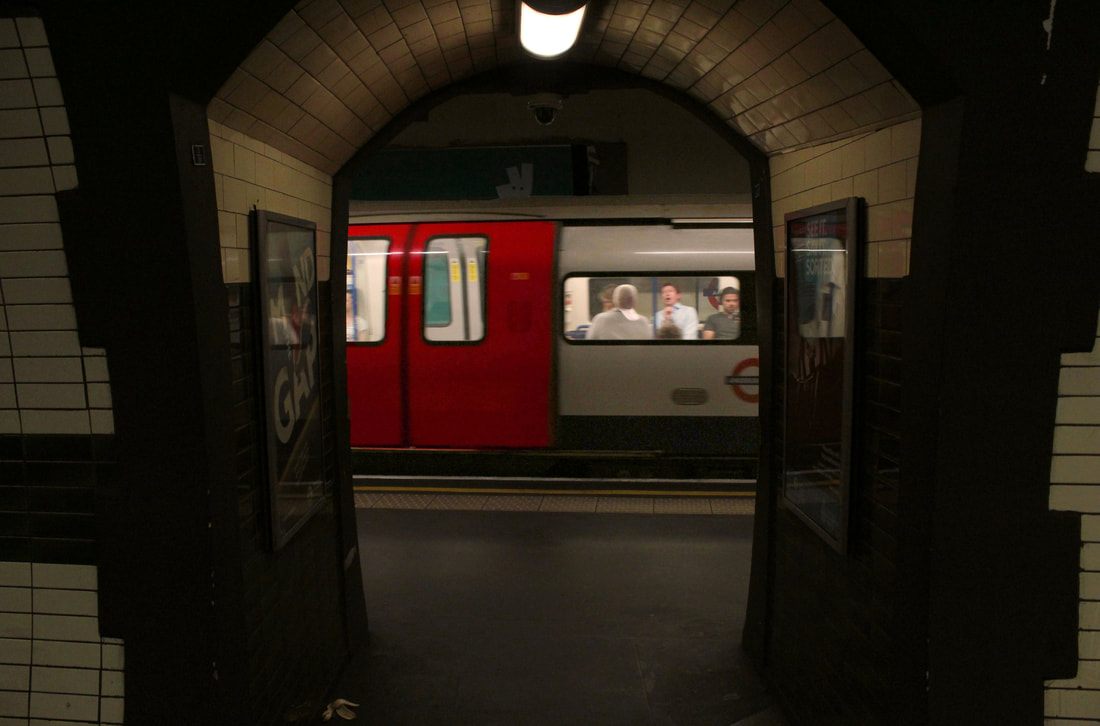
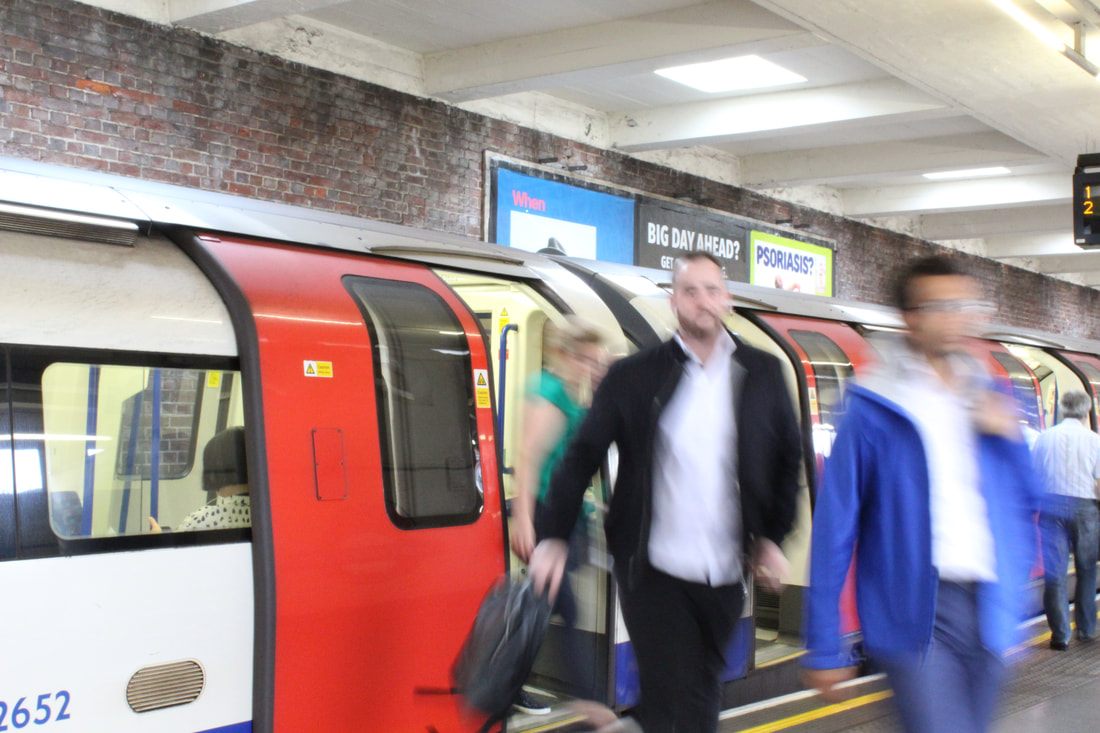
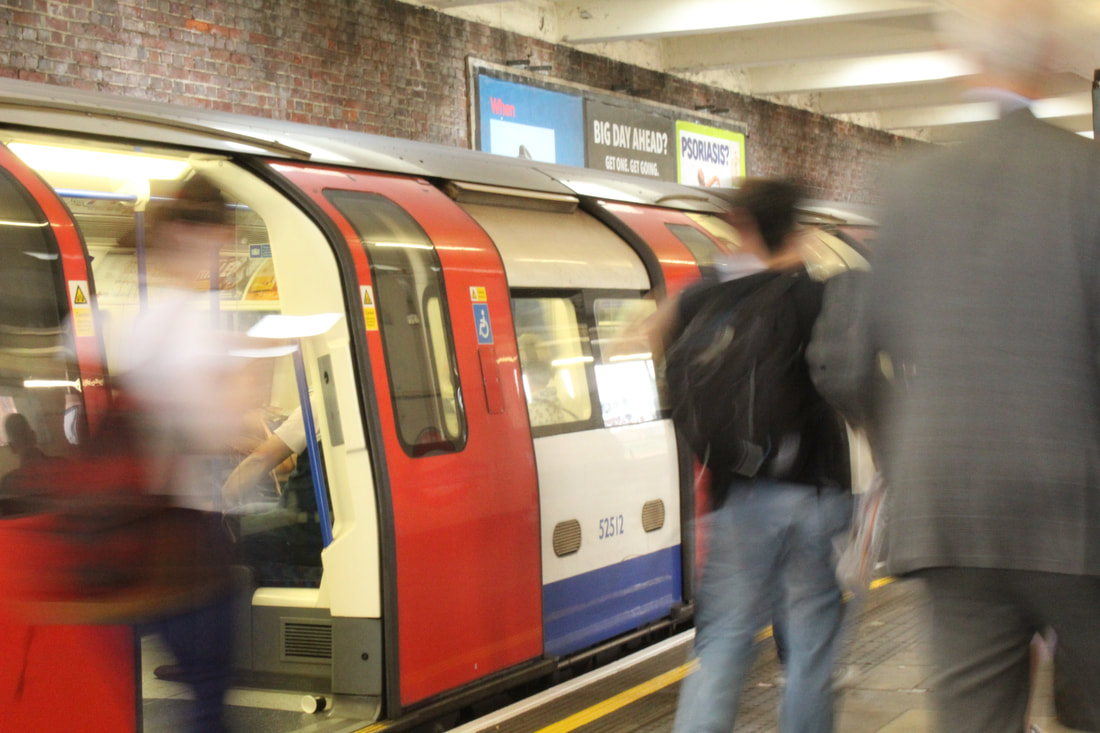
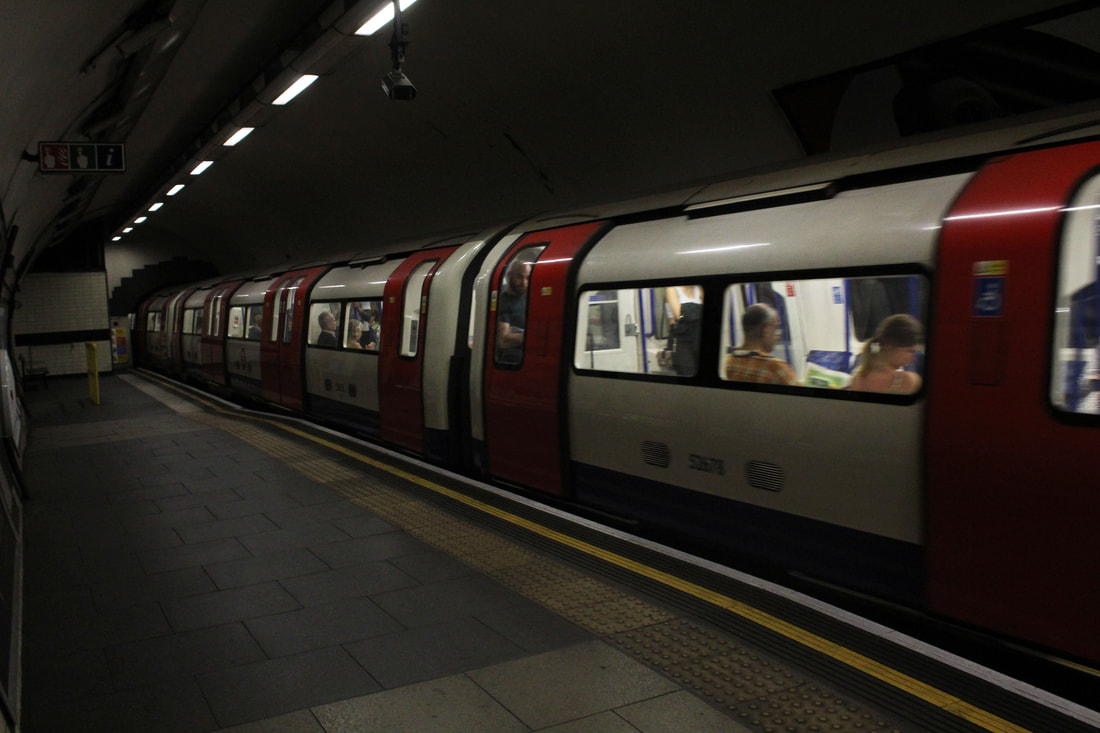
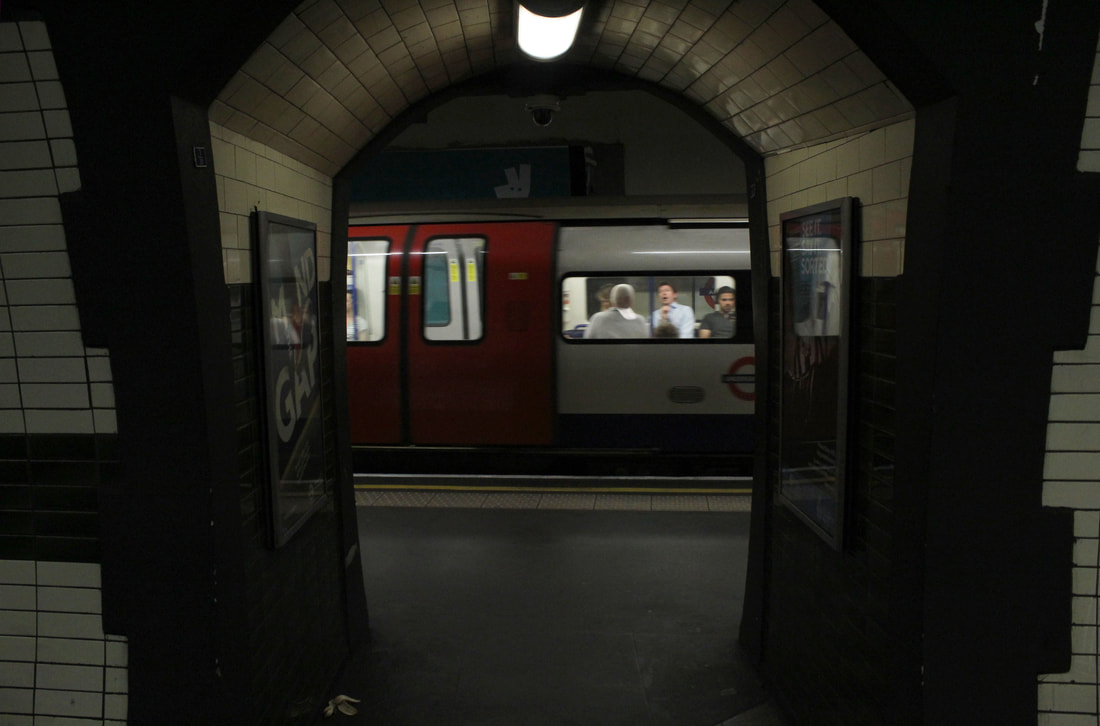
Archway Underground
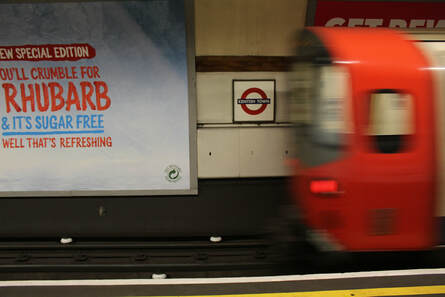
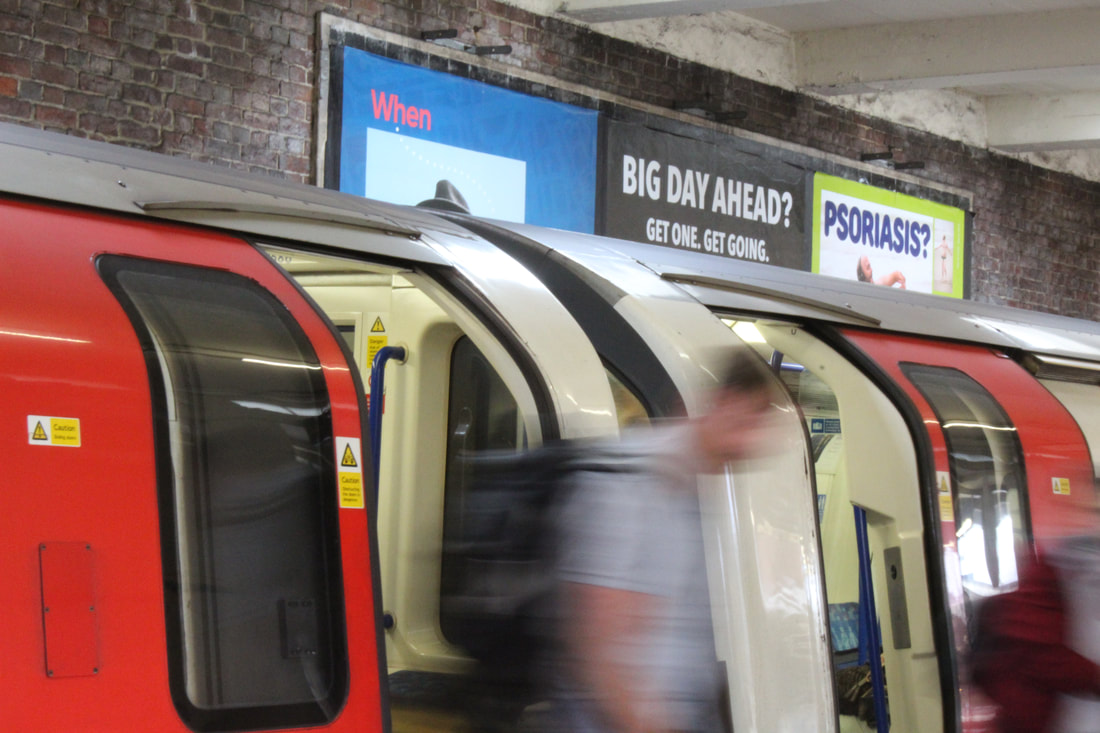
For these photos I went to another underground station as I love photographing the colours with the reds and yellows, I started on the same setting as last time I photographed Kentish Town but as the photos were turning out the same I tried using the manual setting which made the photos much darker but I love how they turned out. They were easier to edit and it was easier to manipulate the hues and warmth. Next time I would like to try going at rush hour and using a long exposure as people leave the train so I can show the movement of people in a more abstract way.
|
|
|
|
Edited photos
To edit these photos I first lightened them using the levels tool so the photo was clearer. I then used the colour balance to make the midtowns more red and the highlights more yellow to give the photo a warmer tone and to emphasise the red on the doors.
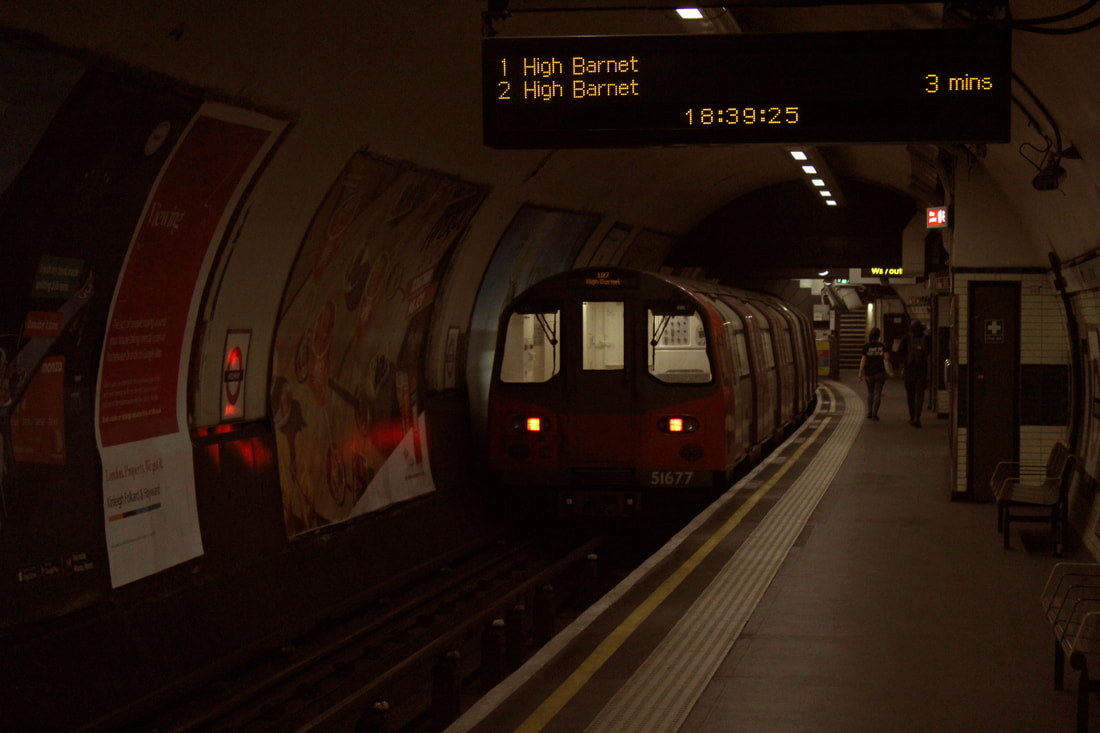
For this photo I lightened it and changed the colour balance. I then increased the brightness and raised the red balance to full on the headlights and lightened the windows in the front to emphasise the train and draw focus to it
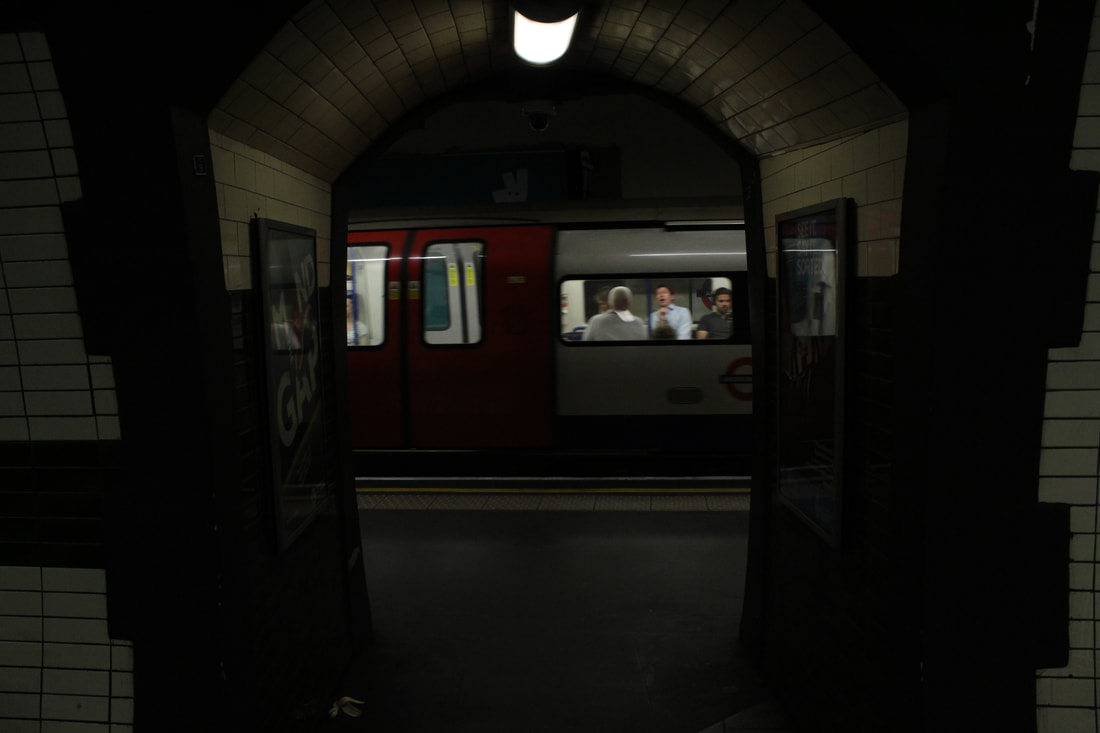
For this photo I lightened it and then changed the colour balance. I made the shadows more red so I could darken the doors and make their colour stand out.
For this photo I lightened it and changed the colour balance. I then used the magnetic lasso tool to select the doors and raise their red balance to full. I also raised the vibrance of the photo so I could emphasise the tiles and doorway. I selected the whole train using the magnetic tool and raised the lightness of it to make it stand out more than the doorway
What I'll do next
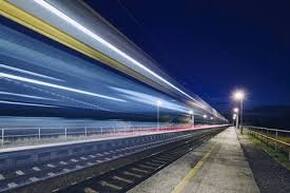
Night train
I will also photograph the overground at night because the lights will be interesting and I can attempt to capture the light trails. I'll try this at Gospel Oak train station after dark.
|
|
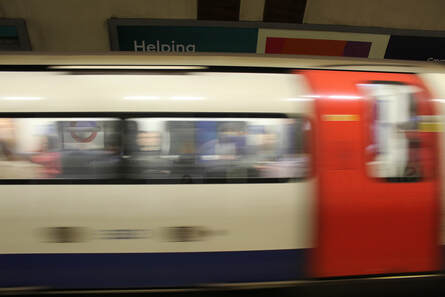
East Finchley Underground
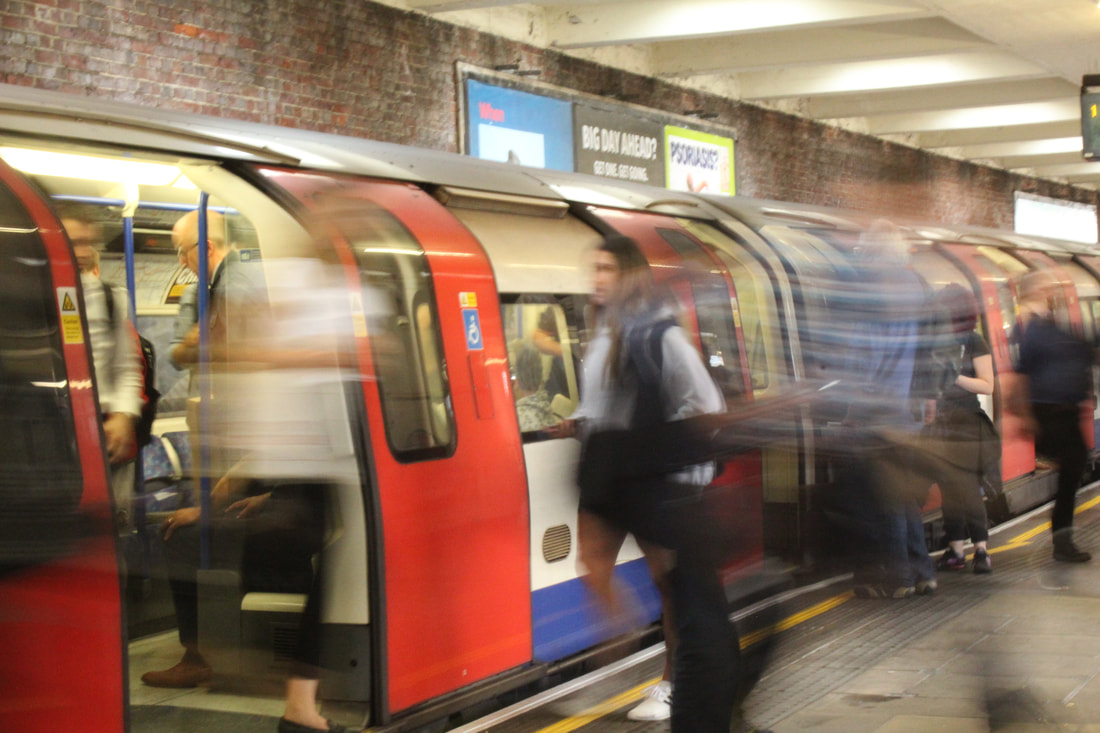
For this shoot I went to East Finchley station as I wanted to photograph rush hour using a low shutter speed so the crowd would blur. I wanted to then layer these photos so the blurred people had more layers and depth. I used a tripod to keep my camera in the same place but I think it was wobbling a bit so the photos aren't exactly in the same place each time. It means I can't layer them as the rest of the photo becomes distorted. This is what they ended up looking like.
|
|
|
|
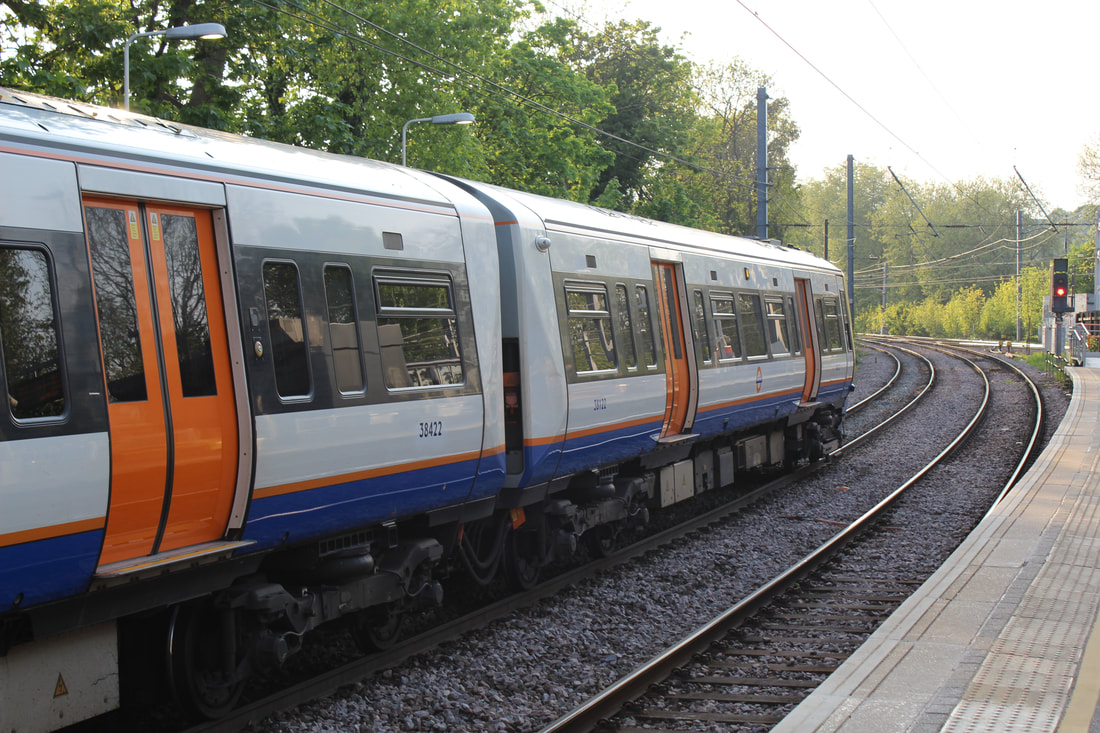
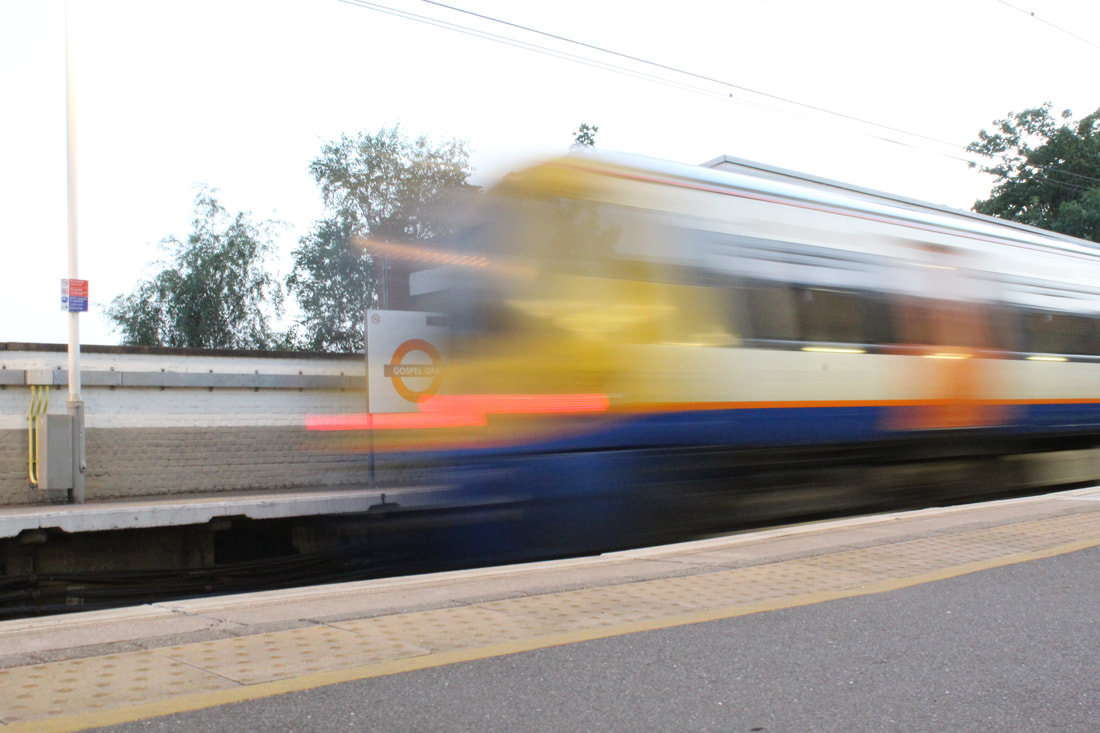
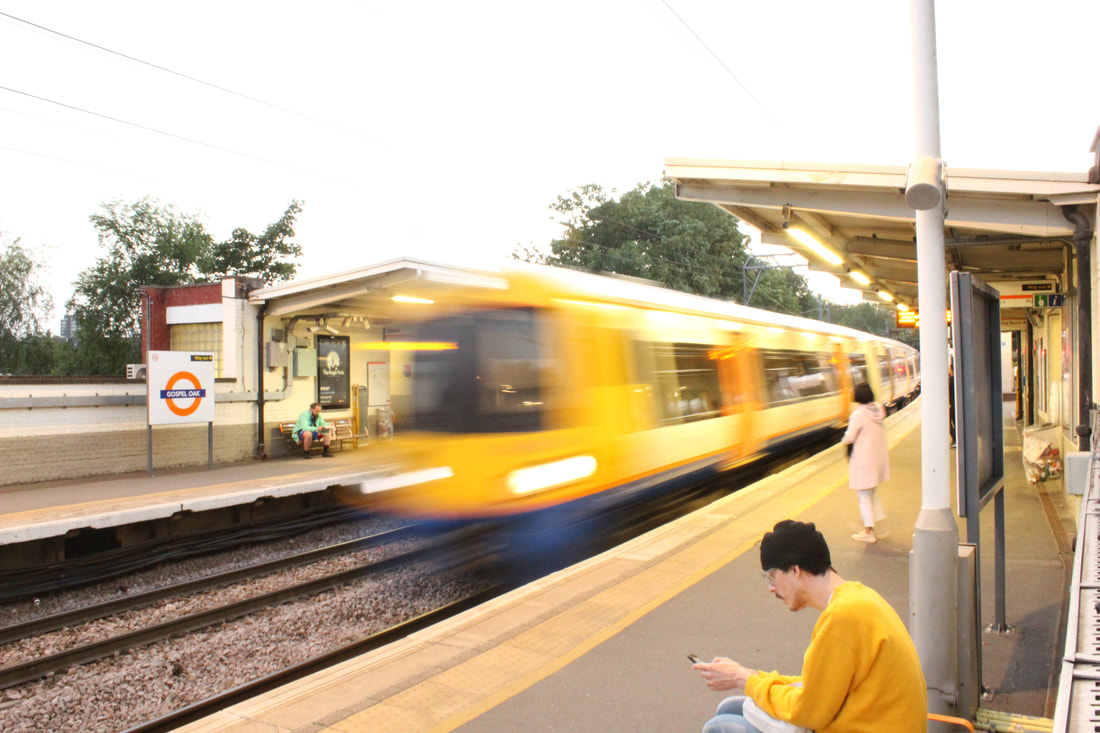
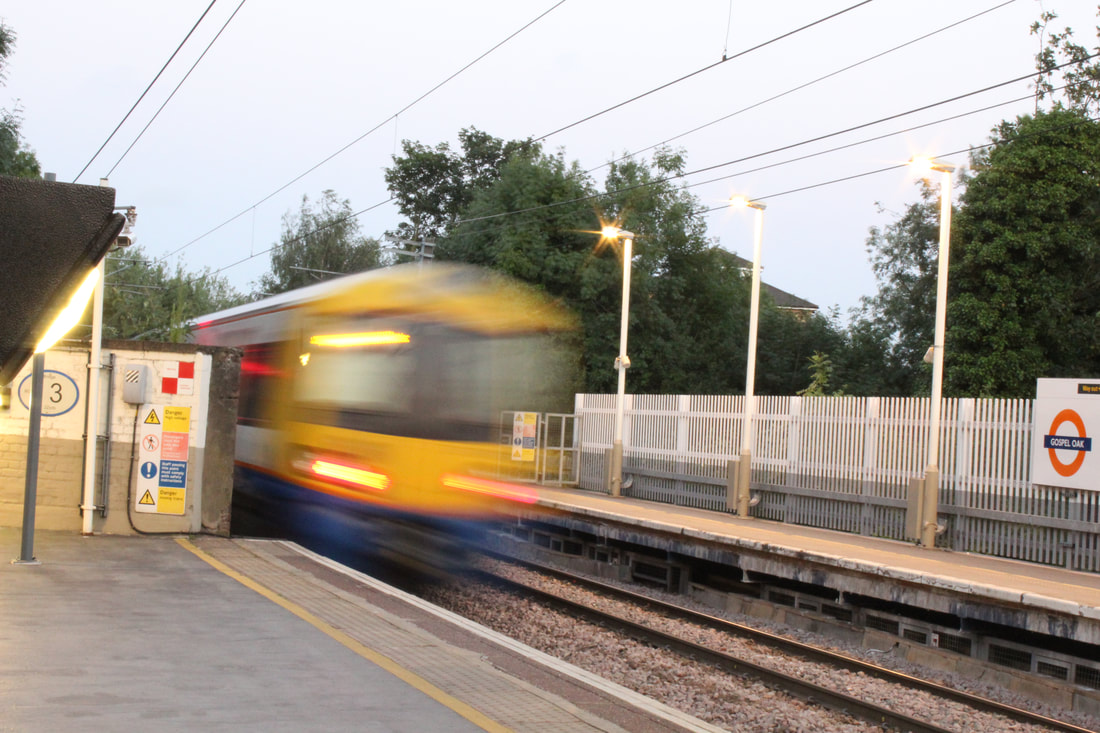
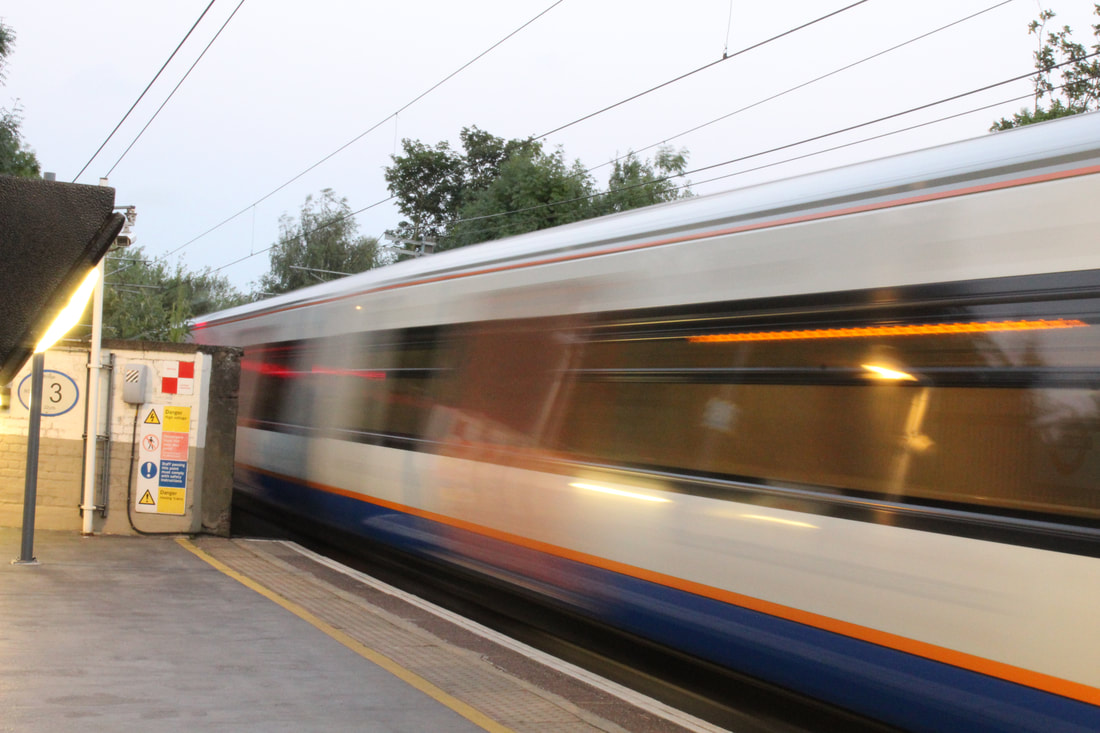
Gospel Oak Overground: shoot 2
I went at 9:30 to Gospel Oak for this shoot as I wanted to try to take light trail photos however it was taking ages to go properly dark so I managed to take photos in lower light, but not quite fully dark. Used a low shutter speed and photographed the trains as they left to catch the light trails.
|
|
|
|
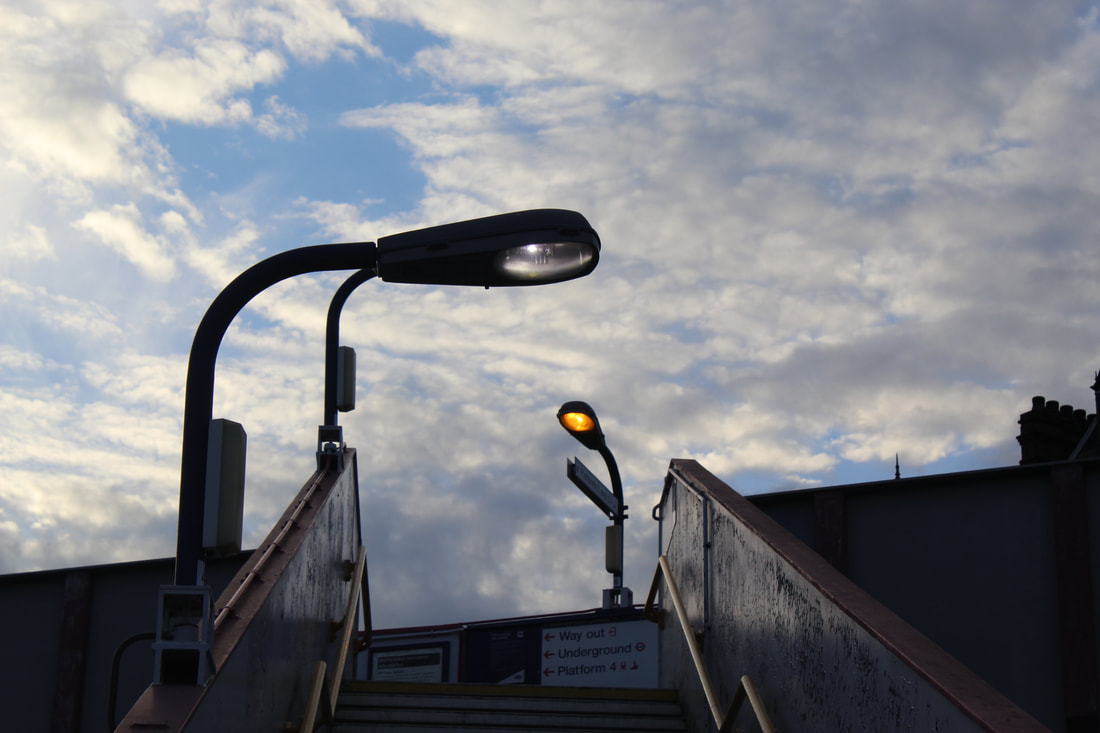
FINAL PIECE
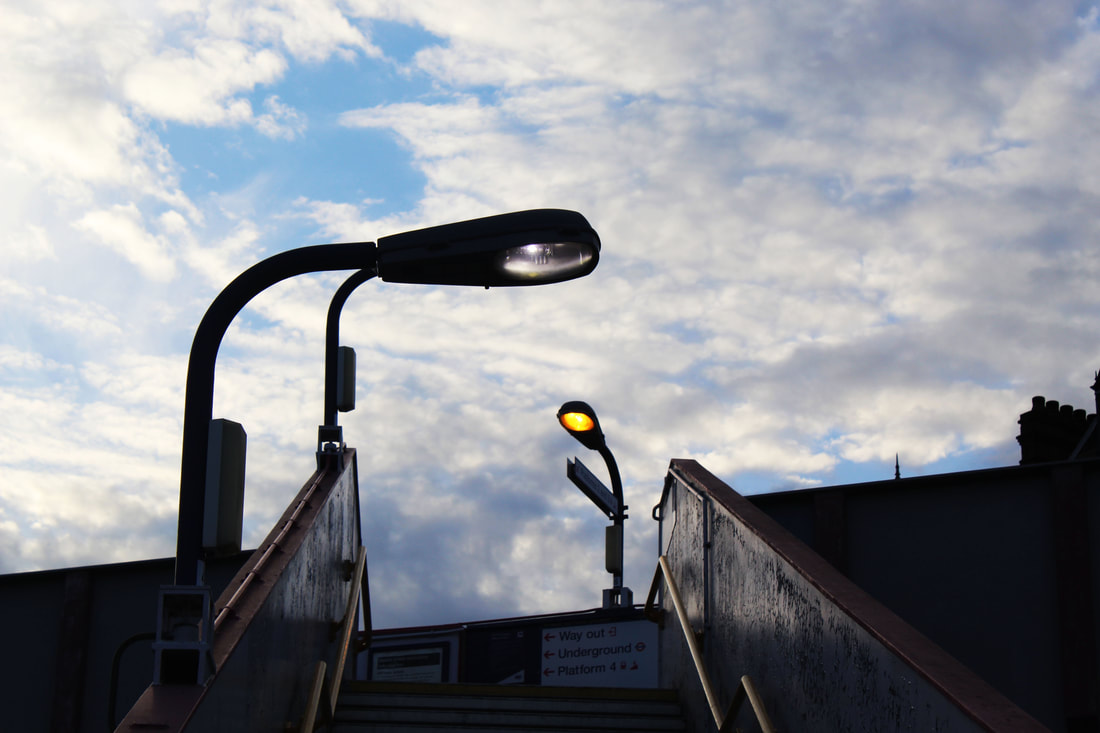
To edit this photo, I first put the contrast to 100% so the sky stood out as much as possible. I also raised the vibrance to 20 to enhance it. I changed the levels of the photo slightly by making the dark shadow balance slightly lower so the details of the stair was more visible. I selected just the orange light and increased the brightness to make that colour really stand out.
To edit this photo I just increased the white levels so it wasn't as dark. These photos were taken on manual setting which made them very dark so I just wanted to lighten the photo slightly.
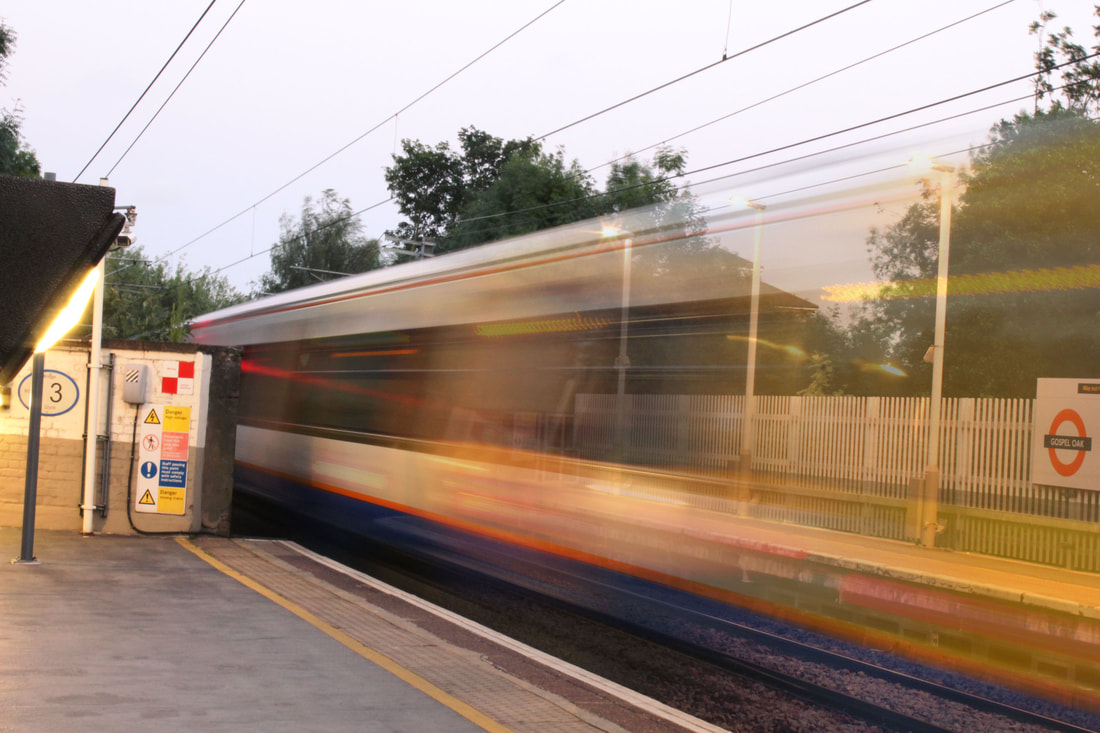
To originally take this phot, I used the TV setting on my camera and put the shutter speed to 1/4 roughly. I then photographed the train as many times as possible when it drove off so Id have a lot of photos to work with. I didn't actually edit the colours or composures of the photos, just the layering. I layered three photos on top of each other and put the opacity to around 60% on them so they would show through each other. This was the result
To edit this photo I just increased the white levels so it wasn't as dark. These photos were taken on manual setting which made them very dark so I just wanted to lighten the photo slightly.
